Search This Blog

Monday, April 22, 2013

New Baby Girl Card


 I've used a cream colour base for this card, and placed a chequered pink layer of card stock onto the base card.  Before adhering the pink layer, I made a scalloped border for the opening side of the card, which is also a lighter pink with polka dots.  I've placed a pink square frame in the middle of the card, which has slight dimension and texture to it.  In the middle of the frame I've placed a chipboard embellishment on pop dots to give it some more dimension.  For the border of this card  I've used some soft pink grosgrain ribbon and finished three corners off with a pink laced button.  In the last corner I die cut a flower shaped base and a circle die cut to fit into the flower base.  The circle die cut piece is stamped with a pink pigment ink and a little bling decorates the centre of the stamped flower.


Saturday, April 20, 2013

Baby Boy Card


 Blue and green themed card for the arrival of a baby boy named Louis......I have used a few different textures on this card, from the paper and the alphas used to some embossing and epoxy sticker.


 Some close ups of the front of the card where I've incorporated some stamping in green pigment ink and set it with clear embossing to give it a shiny raised look.  The alphas have been placed on some punched out circle glitter paper to give that extra sparkle to the card.  To balance the new arrival circle which is popped up on some dimensionals  i have added a green button brad to keep the coloured theme consistent. 


 A green ribbon placed in the centre and a blue epoxy baby elephant sticker, some green bling and we've got ourselves a card =)


Thursday, April 11, 2013

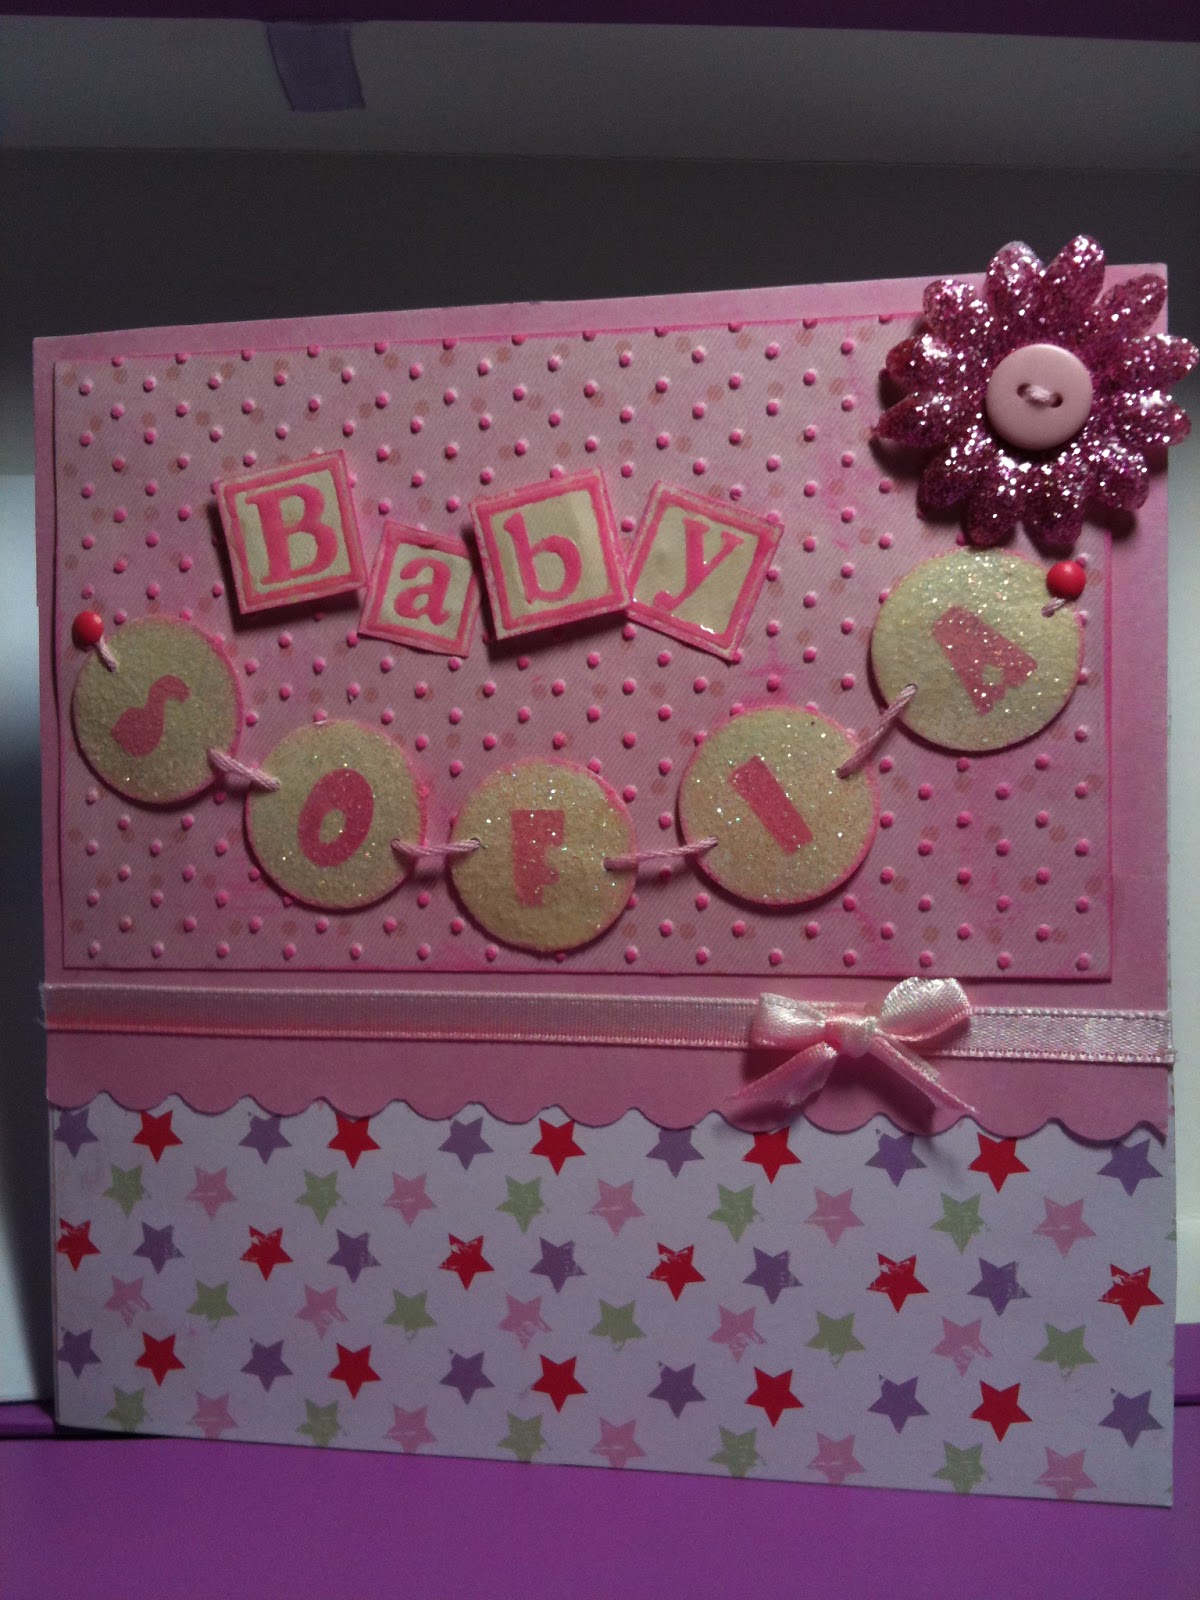
Baby Girl Card

 
              Individualised card for a baby girl... Using several pink shades.
Some dry and heat embossing has been used for the front of the card and also for the handmade glittered flower. 

Closer look at the handmade glittered flower- I used a fabric flower base i placed some versa mark to ad hear some Utee and alternated between layers of Utee and pink glitter.
Clear embossing over the baby lettering and holographic embossing over the name for added sparkle!
 
Inside of card

Finished the card with a simple side bow...
Dimension but not too bulky...

Sunday, October 21, 2012

Male Birthday Cards


-- Some fussy cutting, embossing powder and some birthday stamps and you've got yourself a card!--

 *********************************************************************


 *********************************************************************

Using my eCraft i let IT do the fussy cutting! =)


Friday, September 30, 2011

Engagement Card

A non traditional engagement card with a vintage/grungy flavour to it, yet elegant non the less...

     I used a rich brown card stock for the base of this card.  Before layering the script patterned paper I lightly dusted the front of the card with a bronze shimmer powder, which gave it a hint of shimmer once the patterned paper was adhered to the front.  I distressed the patterned paper with antique linen and walnut stain distress ink. 
     The ribbon i used at the bottom of the card was actually a silver piece that i had in my stash, which i altered using walnut stain distress ink so that it would coordinate. Pearl bling was placed on the top and the bottom of the card slightly in from the edge, and a clear crystal bling was placed on each end to finish it off.
    I used the couples initials for a kind of focal point on the card by framing some elegant rub on alphas on white card stock and backing that with the same brown card as the base of the card, punching one edge with a decorative lattice border.
     

    In the middle of the initials i stamped and embossed a "be mine" sentiment and a double love heart image which gave it a glossy raised finish, i placed a crystal bling to the bottom of each heart which finished it off beautifully.


    I finished off the corners of the card by using some black metal decorative corners, to give it an extra elegant feel. 


    On the inside of the card i used the double love heart image a few more times and also stamped a congratulations sentiment.  I placed a rub on quote on some white card and distressed it using the distress inks mentioned earlier and lastly placed a single bling in the middle of the flower.


Wednesday, August 3, 2011

Friends Brithday Card....

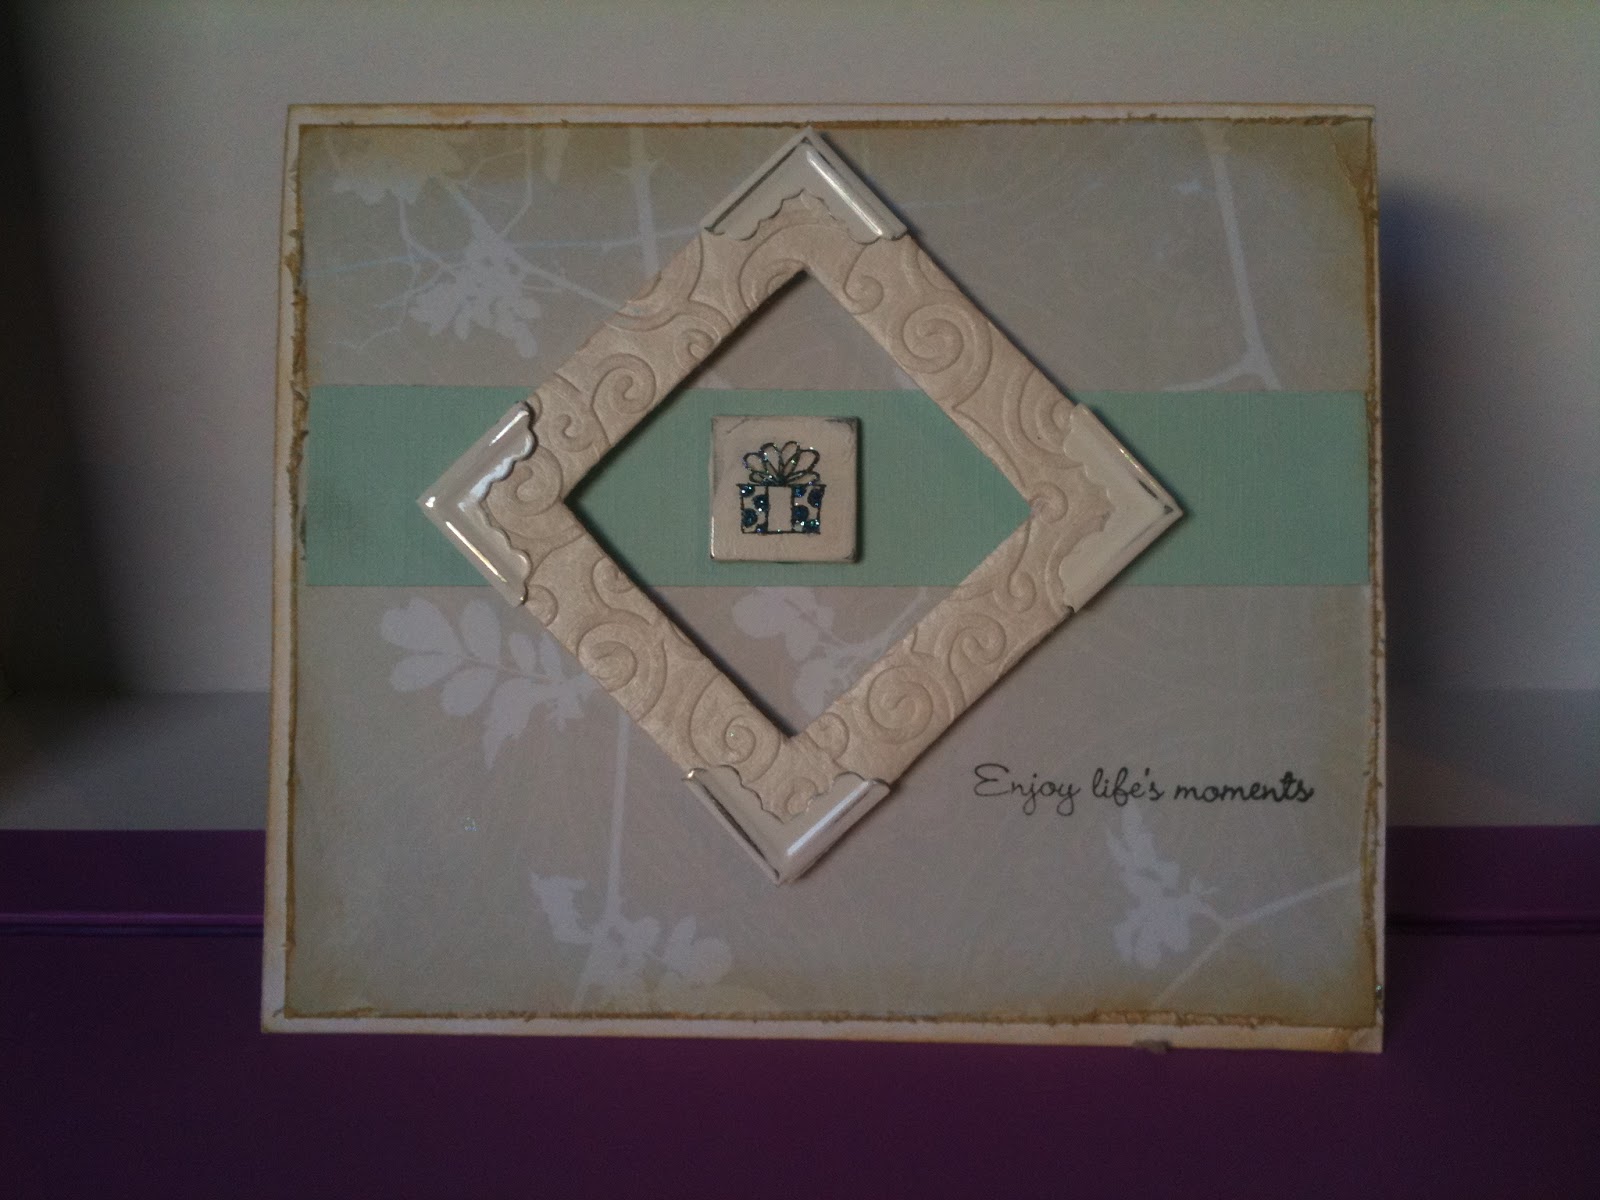
 I love love love this card....its just so simple and intricate at the same time, it has texture and dimension as well... its not 100% perfect but i just love it... =)

This was a frame which i painted as it did not go with the soft pastel theme of the card, after painting it i ran it through my cuttle bug and embossed some swirls onto it......i then attached some metal corners adhered it with some dimensional adhesive and added a little square embellishment which i made by firstly stamping the pic and then embossing it....
Inside another pop up card with the recipients name, i simply punched out two different sized circles and centered them adding a glitter alpha sticker in the middle...Happy birthday sentiment in the back using the same glitter stickers and LOTS of bling....... =)


Sheer ribbon was also added for and elegant feel....


Back of card....

Love it..... =)

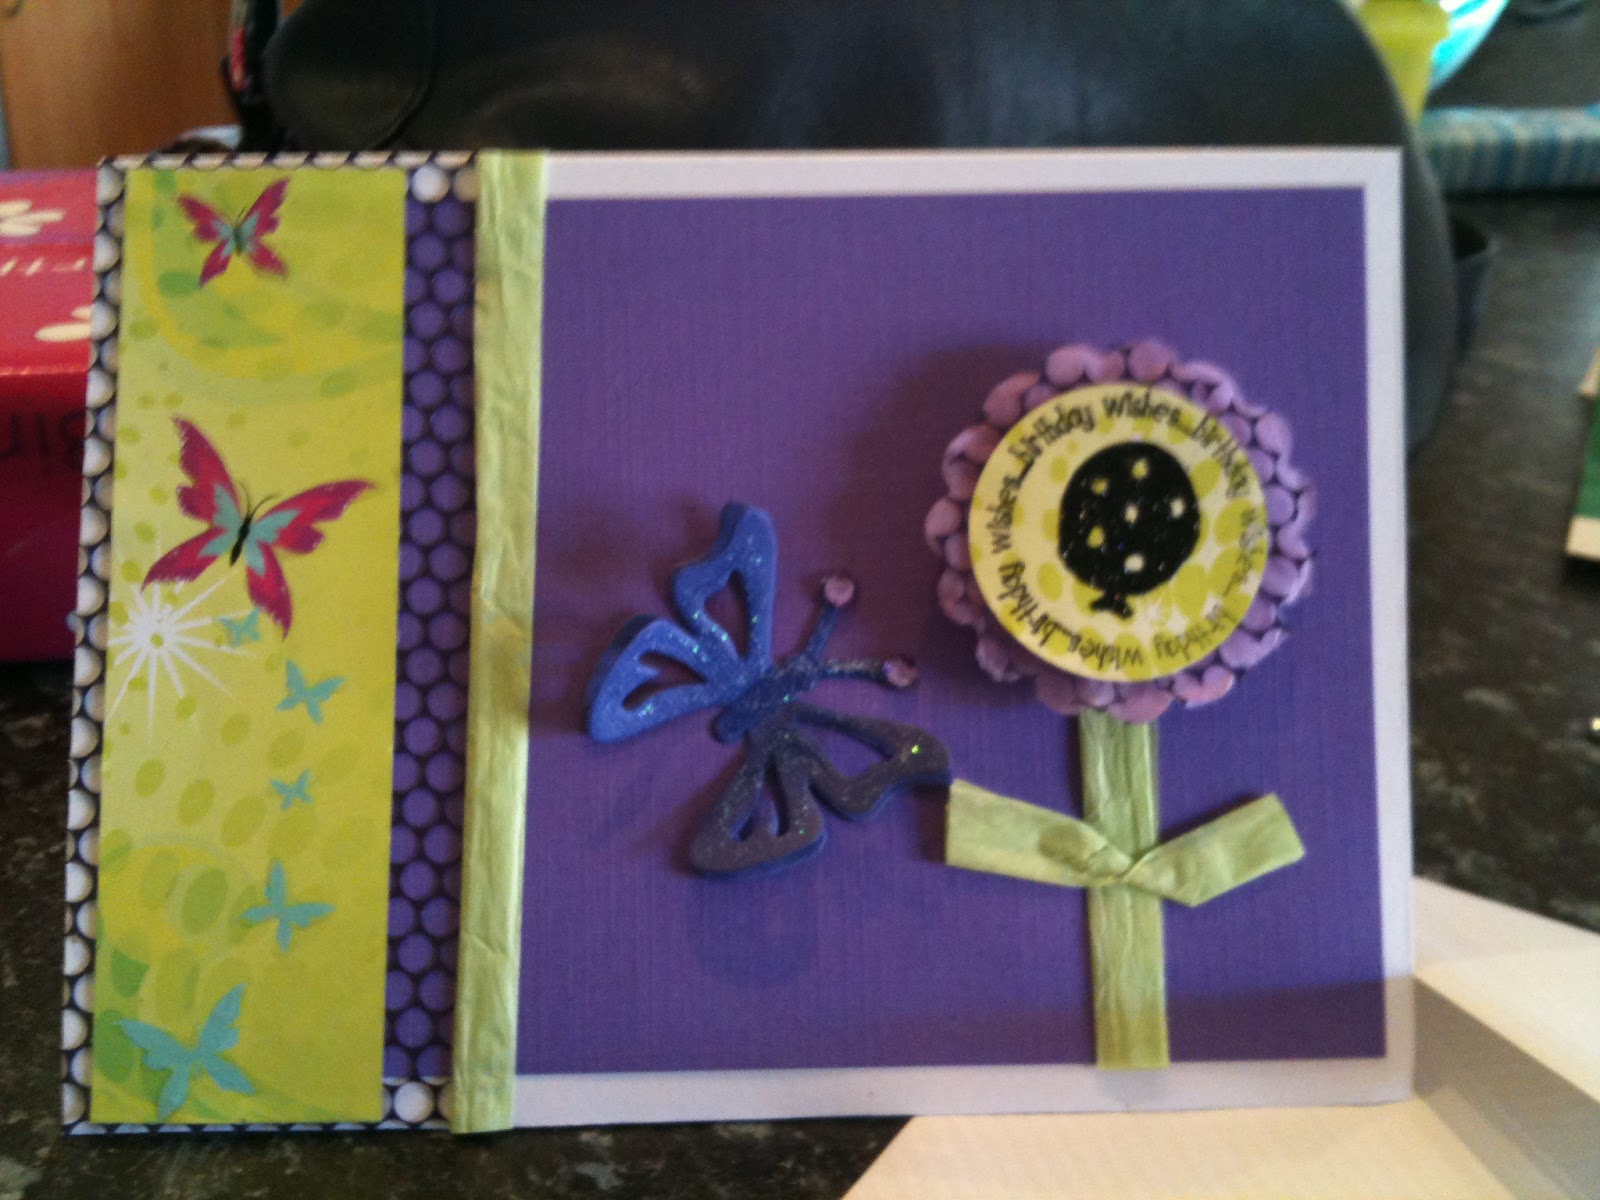
Female Birthday Card

I quite like this card as it has lots of dimension, i began with a basic white card stock for the base, knowing the young lady liked the colour purple i layered a textured piece of purple card stock, she also loves butterflies so i just cut a strip of patterned paper and placed it on top of a mesh like material which was also purple and adhered both onto the left side of the card.
 The flowers was easily made by punching out several layers of tissues paper with a scalloped circle punch and layering a plain circle punch on the top, but before doing so i stamped my sentiment.  The stem i made with some paper ribbon scraps i had, twisting the shorter one to look like leaves. I adhered it all with foam dimensionals to give it great texture =)

I glossy accented the butterflies on the patterned paper and added a die cut butterfly....

Dimensional goodness.... =)